Advanced mechanics of materials
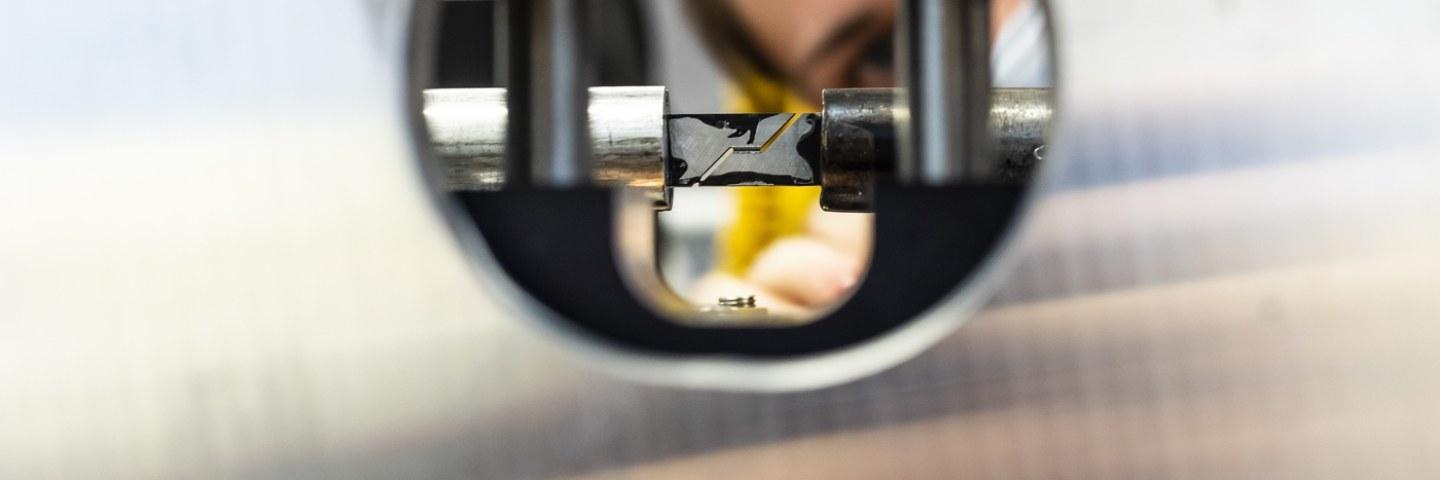
This research infrastructure facilitates characterization of mechanical behavior of all engineering and natural materials at wide range of conditions and length scales. The mechanical properties and behavior such as strength, failure, fatigue, etc. can be evaluated at microscopic length scales using in-situ micromechanics up to larger macroscopic component size. We can characterize material behavior at different temperatures from sub-zero close to melting temperatures of most metals. Equally we can cover a wide range of strain rates from creep to dynamic impact events. We specialize in using optical and infrared photography up to very high frame rates, and we routinely use digital image correlation and other in-situ characterization methods.
Research equipment
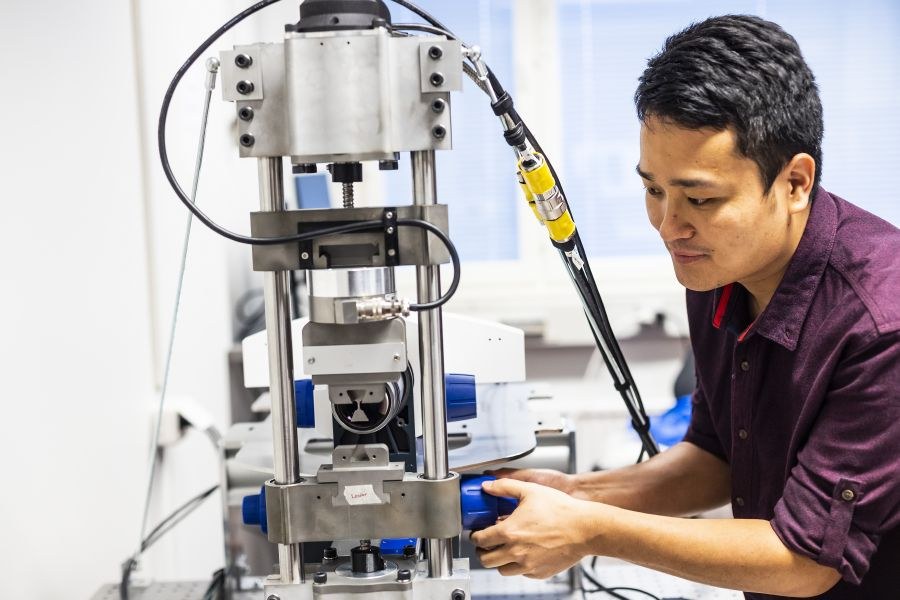
The laboratories are well equipped with latest research infrastructure and software. We have commercial devices and measurement equipment, but also wide variety of devices that are designed and built for a specific purpose. On this page we show some examples of the most commonly used equipment.
More information about the high velocity particle impactor, the Split Hopkinson Pressure Bar devices, Digital Image Correlation and high speed video systems, and the in-situ nanoindenter is availble in the IMPACT group webpages.
Mechanical Testing
A servohydraulic uniaxial materials testing machine used for the determination of quasi-static, fatigue (up to 20 Hz) and low rate dynamic material properties (strain rate below ~100 %/s).
The equipment consists of two separate machines, which have slightly different characteristics:
Machine 1: Maximum loading +/- 100 kN, maximum actuator movement 150 mm
Machine 2: Maximum loading +/- 50 kN, maximum actuator movement 250 mm
- Typically used actuator rate between 0.001 mm/s … 50 mm/s.
- Testing in tension and compression as well as in 3- and 4-point bending and shear (with suitable specimen geometry).
- Small and large hydraulic wedge grips and a large variety of custom made fixtures for specimen gripping/loading.
- Temperature control: heating/cooling chambers (achievable temperature range ~-150 °C … +350°C) and induction heater (several hundreds of degrees depending on the test material).
- Maximum data sampling rate 5 kHz, possibility for real-time analog output to an external recording device, digital input/output for triggering external devices.
Dynamic (fatigue testing-rated) load cells, size and calibrations:
- 100 kN (class 1)
- 50 kN (class 1)
- 5 kN (class 0.5)
- 1 kN (class 0.5)
- 250 N
Extensometers:
- Gauge length 50 mm, travel -5…+ 50 mm, for static loading only, (class 1)
- Gauge length 6/12,5/25 or 50 mm, travel +/- 5 mm, suitable for dynamic and fatigue loading (class 0.5)
- Transverse averaging extensometer for the measurement of transverse strain in the tensile test of a sheet material, for static loading only
- Transversal extensometer is mainly used to determine r-value of sheet materials. An alternative possibility is to use DIC.

A servohydraulic uniaxial materials testing machine used for the determination of quasi-static, fatigue (up to 20 Hz), and low rate dynamic material properties (strain rate below ~100 %/s).
Very similar in performance to Instron 8801 machines
- Actuator rate 0.001 mm/s - 50 mm/s.
- Tensile, compression, 3- and 4-point bending, shear and fatigue testing.
- Small and large hydraulic wedge grips, large variety of custom made fixtures.
Induction heaters and ovens, temperatures up to over 1000 °C.
Maximum data sampling rate 1024 Hz, possibility for real-time analog output to an external recording device, digital input/output for triggering external devices.
Dynamic (fatigue testing-rated) load cells, size and calibration:
- 100 kN (class 0.5)
- 10 kN (class 2)
Extensometers and calibrations:
- Model 632.50F-4: gauge length 12 mm, operating range +2,4/-1,20 m, strain range +20%7-10%, temperature limit +1200°C (class 1)
- Model 632.11C-20: gauge length 25 mm, travel ± 3,75 mm, temperature range -100°C/+150°C, for static loading only (class 0.5)
- Model 632.06F-20: travel +21,16/- 21.17 mm
Instron 5967 – 30kN table top universal testing machine
- A mechanical tensile testing machine.
- Load cells: 5 N, 0.5 kN, 2 kN (class 0.5), 30 kN (class 0.5)
- Extensometers: Gauge length 50 mm, travel ± 2,5 mm & Gauge length 10, 20, 25, 50, 100, or 200 mm, travel 750mm
- Total movement 1140 mm
Instron 1185 / retrofit 5500 – 100kN universal testing machine
- A mechanical tensile machine equipped with 100kN load cell.
- Testing in tension and compression as well as in 3- and 4-point bending.
- Possibility to use 6…50mm gauge length static/dynamic extensometers.
Testometric M500 – 25kN table top universal testing machine
- Mechanical tensile testing machine for fibers, yarns and fabrics
- Load cells: 20, 100, 250, 2500 N, and 25 kN
Possibility to use the high resolution stereomicroscope-based Digital Image Correlation (DIC) systems to measure specimen deformation in all of the above setups.

LaVision StrainMaster Compact system
These two portable DIC systems can be used as optical extensometers, but they readily also produce full field data. They have permanent stereo calibration and are therefore easy to use.
- Camera resolution: 2 or 5 Megapixels
- Field-of-view of 180×280 or 120×140 mm2
- Effective spatial resolution of 142 or 52 μm/pixel
- Frame rate at maximum resolution up to 150 and 75 Hz at 8 bit and up to 100 and 50 Hz at 12 bit
- Fixed working distance of 25 cm
- Easy setup and operation

Split Hopkinson Pressure bar or Kolsky bar technique is used to measure the stress-strain response of materials at high strain rates, typically in the range 102-104 s-1. The SHPB method is based on the propagation of longitudinal stress waves in elastic bars. The SHPB method is a highly specialized research tool, the designing, building, and utilization of which requires versatile understanding of the propagation of elastic waves in solids, modern machine design, and instrumentation of electronic measurement devices and data acquisition systems. At TAU, there are three SHPB devices, two for compression and one for tensile testing.
Key features |
|
Type of loading: |
Compression, tension, or shear |
Duration of the loading pulse [µs]: |
50 – 600 |
Strain rate range [s-1]: |
2·102 – 104 |
Loading range [kN]: |
0 – 250 |
Temperature range [°C]: |
-190 – 1000 |
More details and examples on the IMPACT –group website.

This equipment allows mechanical testing of dog bone tensile samples at strain rates ranging from 500 to 2500 s-1.
Key Features
- The tensile apparatus uses 4340 steel incident bars and 2007 aluminum alloy transmitted bars.
- The diameter of the bar is either 22 or 12 mm, and the length from 3000 mm to 6000 mm.
- The length of the striker varies from 500 to 1600 mm.
- The signals from the strain gages are amplified using Kyowa CDV 700A series signal conditioners and recorded using a 12-bit 10 MHz Yokogawa digital oscilloscope.
- The tensile HSB device is also equipped with a high temperature system, which allows experiments as high as 1500°C.
Instrumented equipment Ceast Resil 5.5 (Max 5 J)
- Instrumented impact pendulum system with data acquisition and analysis for standard Charpy and Izod impact tests.
- Records load-time curve of the impact
- 0.5 J, 1 J, 2 J (instrumented), 4 J (instrumented) hammers
Non-instrumented Zwick impact pendulum (Max 50 J)
- Non-instrumented impact pendulum for standard Charpy and Izod impact tests. Charpy hammer is 50 J and Izod hammer 25 J.
- Tensile impact testing with 25 J hammer
Non-instrumented Frank impact pendulum (Max 4 J)
- Charpy and Izod
- Tensile impact testing with 2 J hammer
Non-instrumented WPMA impact pendulum (Max 300 J)
- Charpy
The polymer processing facilities together with a cutting-in equipment for the notches enable fabricating polymeric impact test specimens directly from the raw materials.
Rosand Instrumented Falling Weight Impact Tester, Type 5
Test parameters
- Max drop height h = 3 m
- Impactor mass m = 2.7 – 25 kg
- Impact energy E = 2.5 – 735 J
Instrumentation
- Contact force of the impactor (max 60 kN)
- Displacement of the impactor
- Impact velocity
Other
- Several impactor head shapes and sizes available (also custom heads possible)
- Several specimen fixtures available (also custom fixtures possible)
Developed for experimental research of high speed impacts of small particles. This device simply accelerates small balls or cylinders to high velocities and impacts them to the sample target at a preset angle. The device was originally developed for model verification purposes, but has been also used to carry out various impact tests including High Temperature Taylor Experiments.
Key Features
- Variable impact angle and energies
- Projectile speeds: 30-200m/s
- Suitable for metals, coatings, composites, elastomers, hybrids…
- Projectiles: Metallic or ceramic bearing balls, cylinders, bullets, and rocks.
- Provides good opportunity to record the impact with with high speed video cameras and 3D displacement and full field strains with Digital Image Correlation Systems.
- Low temperatures down to -80 °C has been tested. High Temperature Taylor tests carried out at 700°C
Read more: Lindroos M. 2016, Experimental and Numerical Studies on the Abrasive and Impact Behavior of Wear Resistant Steels. Doctoral Thesis,Tampere University of Technology, 2016. 244 p. (Tampere University of Technology. Publication).
The Psylotech µTS system is a flexible meso-scale test system that can be used in conjunction with microscopes and digital image correlation system to measure stress/strain, stress relaxation and creep experiments on a wide range of materials.
Specifications
- Type of loading: Tension, compression, bending
- Maximum force: 7 kN
- Maximum speed: 1.3 m/s
- Max. sampling rate: 5 kHz

High Speed Optical and IR Imaging and Digital Image Correlation
The TELOPS Fast IR-1500 M2K high speed IR camera offers high-speed thermal imaging with high temporal resolution. Therefore, it is ideal to analyse dynamic events.
Full size image of 320 × 256 pixels up to 2000 frames per second. At higher speeds, the size of the image decreases.
Maximum frame rate of 90 kHz with an image of 64 × 4 pixels.
4-position filter wheel that allows imaging at a broad range of temperatures up to 1500 °C.
Several optical configurations available to cover various field of views and working distances
Spectral range of 1.5 to 5.5 µm
Can be used simultaneously with optical cameras and Digital Image Correlation
More details and examples on the IMPACT –group website

Fluke Ti400 is a hand-held longwave thermal camera, with eg. autofocus and wireless remote control. The camera is equipped with versatile tools which, e.g., find the maximum temperature from the image or the temperature of certain points. Voice and text annotations can be embedded into the pictures, which can be exported in many file formats. The camera has also a video output of the thermal images (30Hz) as .avi and also includes normal visible light camera (5 Mpix).
- Spectral range: 7.5 to 14 µm
- Temperature range: –20°C to +1200°C
- Operating temperature range: –10° C to +50° C
- Thermal sensitivity: 0.05° C at 30° C
- Accuracy (depends on the used range): +/- 2°C or +/- 2%
- Resolution: 320x240
- Weight with battery: 2.4 kg
- Image capture frequency in the screen: 60 Hz refresh rate
- Field of view/min focus distance: 24° x 17°/0.15 m
Digital Image Correlation is an optical photography based method to calculate full field displacement fields from a moving or deforming object.
The benefits are:
- Non contact, non intrusive
- Full field data (thousands of mini extensometers) and extraction of e.g. strain plots along a 1D line
- System is not damaged when sample fails
- Suitable in harsh environments (chambers)
- Possible to use where specimen is submerged in solution
- Identify strain hot spots over a larger area
- Visualization of results and easy comparison with FEM simulations
- Do not need to know where to place the gauge / extensometer before the test
We are currently using DAVIS10 system from LaVision (www.lavision.de) with latest updates.
High rate system
- 2 Cameras: Photron SA-X2
- 12 bit images, 1MPix maximum resolution. 12.500 fps at max.res. Higher fps at reduced resolution,e.g. 200kHz @ 256*152
- 16GB of internal memory, recording time around 0.7 to 10 seconds depending on the resolution and fps
- A rigid mounting system for the cameras and lights
- High speed trigger unit
- DecoCool high power lights
- VIC Single Module Ultra-Bright LED Module lights
- Additional Zeiss Discovery v.8 stereo microscope with horizontal mounting system
Low rate system
- 2 cameras: Imager E-Lite 5MPix CCD cameras.
- 12bit images, 12 fps at full resolution
- Lightweight mounting system for easy access of cameras and lights
- Pulsed LED Lights. Operated directly from Davis software
- Additional Zeiss Discovery v.8 stereo microscope with horizontal mounting system
- 2 cameras: Imager M-Lite 16Megapixel CCD cameras.
- Resolution of 5320×3032 pixels
- 22 fps at 12 bit full resolution
More details and examples on the IMPACT –group website

Cordin 535-16
Cordin model 535-16 is a High Resolution Rotating Mirror CCD Framing Camera System. This system use a complex optical system centered on a multi-faceted mirror that spins at very high speeds. This action distributes the image to individual CCD channels which record the frames. This approach yields the best image quality available in ultra-high speed applications.
- Number of Frames: 16
- Maximum framing Rate: 1 million
- Minimum Interframe time: 1.0 us
- Minimum Exposure Time: 800 ns
- Front Optics: Single objective lens system (no parallax)
- Objective Lens: Nikon F-mount
- Resolution: 1000 x 1000 pixels
- Pixel size: 7.4 x 7.4 mm
- Dynamic Range: 10 bit
- Device Type Full resolution progressive scan
Memrecam fx K5
Memrecam fx K5 provides ultra high light sensitivity, ultra high speed and mega pixel resolution. It is a fully self-contained, digital, high-speed video system that records brilliant colour images or crisp monochrome images. The robust Memrecam fx K5 is perfect for any high-speed imaging application being performed in a hazardous environment. The Memrecam fx digital cameras allow the user to record mega pixel images for more than 10 seconds at
1000 fps and over one minute at reduced resolution.
- Megapixel Sensor
- Frame rates up to 168,000fps
- Ultra-High Light Sensitivity— ISO 5,000 Colour & 32,000 Monochrome
- 1280 x 1024 resolution
- Gigabit Ethernet control 100m+ or 100baseT Ethernet operation.
In-situ nanoindenter
Alemnis in-situ nanoindenter can perform indentation, micropillar compression, microcantilever fracture and other micromechanical tests inside a SEM over a wide range of temperatures and strain rates. All classes of materials (metals, ceramics, plastics, composites, glasses, etc.) can be tested at small length scales.
Key features
- Load range: 4 µN – 2 N
- Displacement range: 40 µm
- Strain rate range: 10-5 - 104 s-1
- Frequency range: Up to 10 kHz
- Temperature range: -150 - 1000 °C
- Loading type: Compression and tension
- Indentation tips: Berkovich, cube corner, spherical, flat punch, conical, tensile grippers
- Control modes: Load & displacement controlled


Related infrastructures at Tampere University

Research groups
Advanced mechanics of materials research infrastucture is linked to the charcterization of mechanical properties of all kind of materials.