Wihi student guide
Wihi thesis management system was launched at TAMK on 1 Jan 2021. Student theses starting in 2021 or later are handled in the Wihi system.
Objectives
Wihi is a platform for managing all the phases of the students' thesis projects:
- All communication and file exchange related to the thesis takes place inside Wihi.
- Guidance is transparent, the student does not fall into a guidance gap, equal treatment of students can be guaranteed.
The degree programs ensure that all students working on their thesis projects receive guidance, and the students progress with their theses. - The Wihi platform is simple, and it adapts to the needs of a wide variety of degree programs.
Degree programs should customize their Wihi instructions: how each task in Wihi is executed, what files are stored in Wihi, and what else needs to be done and how it is verified. How to verity the level of competence.
Wihi supports your thesis process
Log into Wihi from the O-symbol found in your PAKKI toolbar. The direct address is https://wihi.tamk.fi.
If you are studying in multiple degree programs, check that you are entering Wihi with the correct student role.
Instructions: Click on your name, a menu will open where you can have several study rights. Select the right one from the list.
You can access the Wihi instructions by clicking the question mark icon, as shown in the screenshot below.
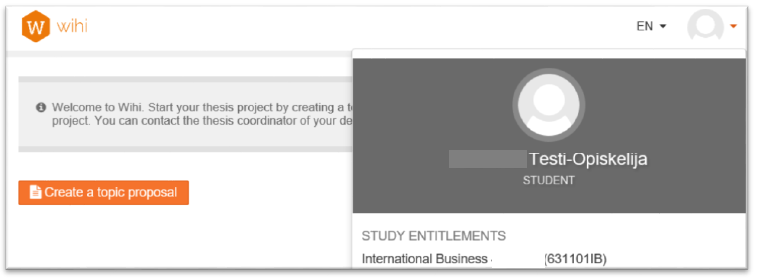
When you log in for the first time, you will see an invitation.
Filling in the topic proposal form
- Create a thesis topic proposal: for a group thesis, only one of the students should do this!
- Add the names of the other author(s) of the thesis. Students who have been added will see the topic proposal, and they can accept or reject it when logging in to Wihi.
- Type in the title of the thesis. If the title changes later, you must update it. This is important, because the title is automatically transferred to the student register upon graduation.
- TAMK does not have an orientation option in all degree programs, so in that case you enter the code of your own group in the field.
- Type in the planned start and end date of the thesis.
- Select a correct option in the Type drop-down menu.
- In the section Thesis content, objectives and outcomes, you can write a short description of the planned thesis.
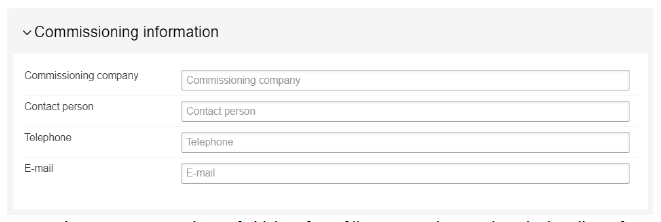
- You can leave the following, unstarred fields blank at this point, but you can also fill them in, if the information already exists.
- Enter the details of the commissioning company of your thesis (if applicable).
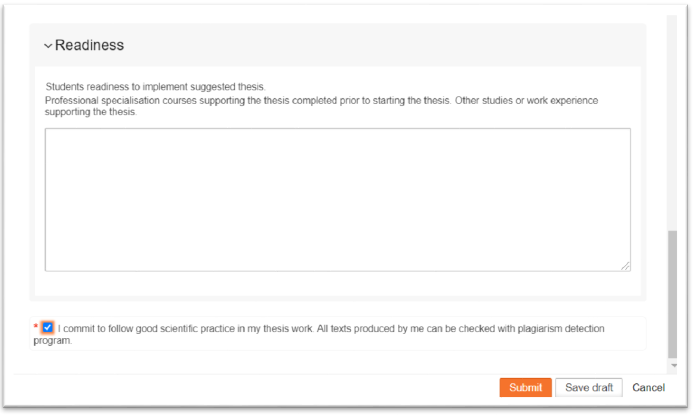
- In the Readiness section, you can enter details about your previous studies, or any other skills that might prove useful for completing your thesis.
- Then you must accept the default commitment by checking the box.
- Finally, press the Submit button.
The following images illustrate the thesis topic proposal form, when you are creating your topic proposal.
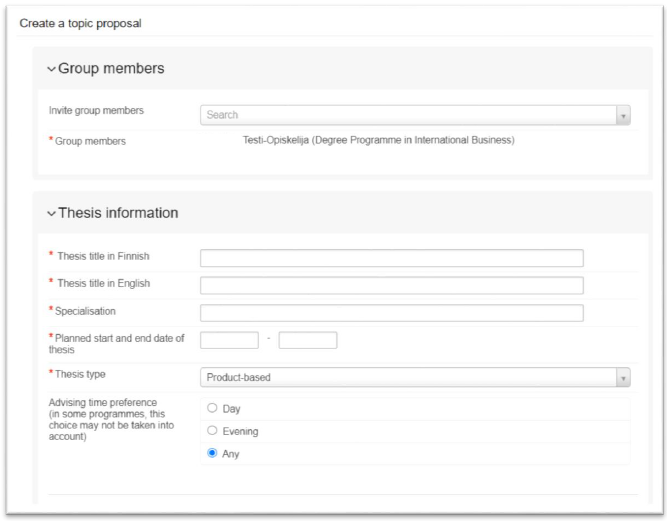

Fill in all the fields indicated with an asterisk (*). Now you have “registered” yourself as the author of the thesis.
The student(s) working on the same thesis must accept the invitation to this thesis project. If a student rejects the invitation, his or her name will disappear from the list.
Next, the person responsible for the theses in your degree program will record an advisor for your thesis. He or, alternatively, your advisor will approve the current version of your topic proposal. The title and other topic proposal information can still be edited during the project.
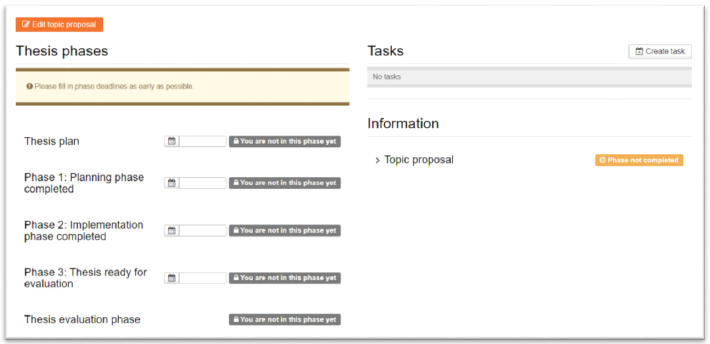
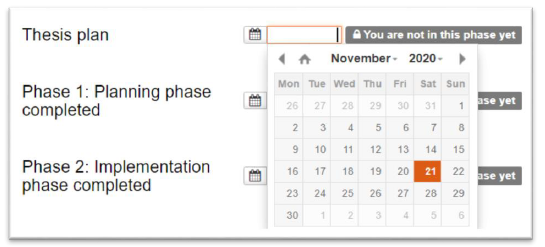
Next, add a schedule for the different phases of the thesis. Add the date to all four date fields shown in the image.
Communication between advisor and student
The “discussion” related to the thesis between the advisor and the author(s) of the thesis takes place inside Wihi. Please note that after the introduction of Wihi, your advisor will no longer respond to your thesis-related emails. Note that the degree program coordinators also see your communication in the Wihi working area.
The advisor accepts the phases as they are ready. The approval of each phase (1/3 - 3/3) automatically marks the corresponding thesis course as completed in your study register. The performance entry and the study credits will automatically appear in your study register PAKKI.
Phases and timing of the thesis
In addition to the phases (1/3 - 3/3), the thesis project has two more stages, the first of which is the Thesis plan and the last is Evaluating the thesis.
The thesis plan should be uploaded into Wihi, according to the instructions, at this stage. The advisor will review it, and discussions can take place in Wihi using communication and file upload tools. Finally, the advisor approves your thesis plan.
Note that each degree program may have agreed slightly different instructions on what tasks are to be performed, in what phases and how, as well as in what phases some documents are to be uploaded.
Phase 1
As soon as your advisor approves the thesis plan, phase 1 gets activated.
TAMK's common guideline is that in phase 1/3 the thesis plan must be completed, and the student is obliged to scan and upload the signed thesis agreement or thesis permit (in PDF format) into the Wihi system. The PDF file is to be named as follows: "thesis_agreement.pdf".
Your degree program provides detailed instructions on what else is included in this phase.
In phases 1/3, 2/3, and 3/3, the student can upload files, send messages, create tasks, and mark the progress status of tasks.
We recommend to create reminders of the tasks for yourself, and they also help your advisor to follow your progress. Tasks can be created and marked at all phases. If a task is not completed in the phase it was created, it will automatically move to the next phase after the phase is approved.
Phase 2
Phase 2/3 includes tasks, for which you will receive instructions either from your advisor, or in another way depending on your degree program.
Phase 3
When the thesis reaches phase 3/3, the plagiarism check is performed.
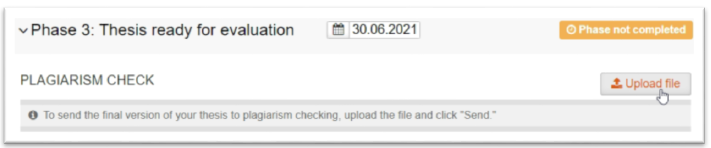
The upload section will appear now. If the report does not pass the plagiarism check, your advisor will reject it and send you a request for correction. After corrections, you can upload the thesis report again.
In case you want to check your thesis for plagiarism even before this stage, you can find a course in Moodle where you can do it.
Then you can send your thesis report to language teachers for summary and abstract review.
In the same way, you can send the thesis report to a partner or commissioner for review.
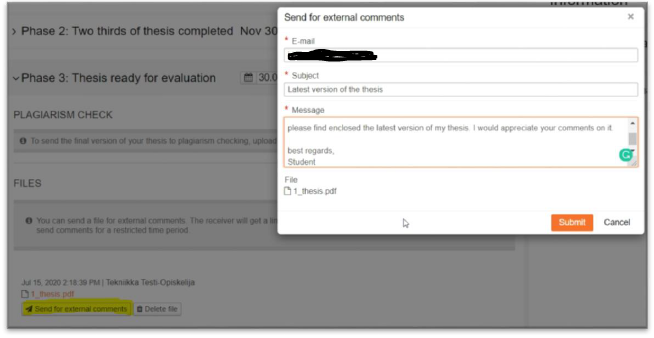
You can use the Wihi functionality described above to ask for external comments from your partner or commissioner, or you can use email just as well. When sending via Wihi, the recipient cannot unfortunately send the form back as a file - he can only write text. If your advisor requires the completed form as a file, the recipient should send it via email. Once you receive the completed form, save it into Wihi.
You can find the required form attached to the thesis instructions in the intranet.
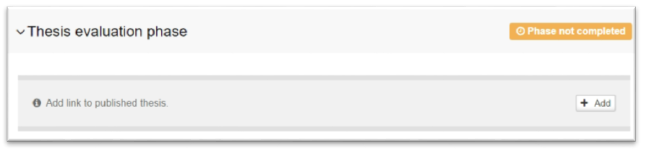
After submitting the completed thesis report in the Theseus database, you will need to attach the permanent Theseus web link of your thesis in Wihi, so that your advisor can complete the assessment.
When all stages of the thesis process are completed, the Download assessment form button will appear in the top bar. Save the form for yourself.
You can find more instructions for using Wihi behind the question mark icon inside the Wihi system.
Further information by email: it-helpdesk [at] tuni.fi.